
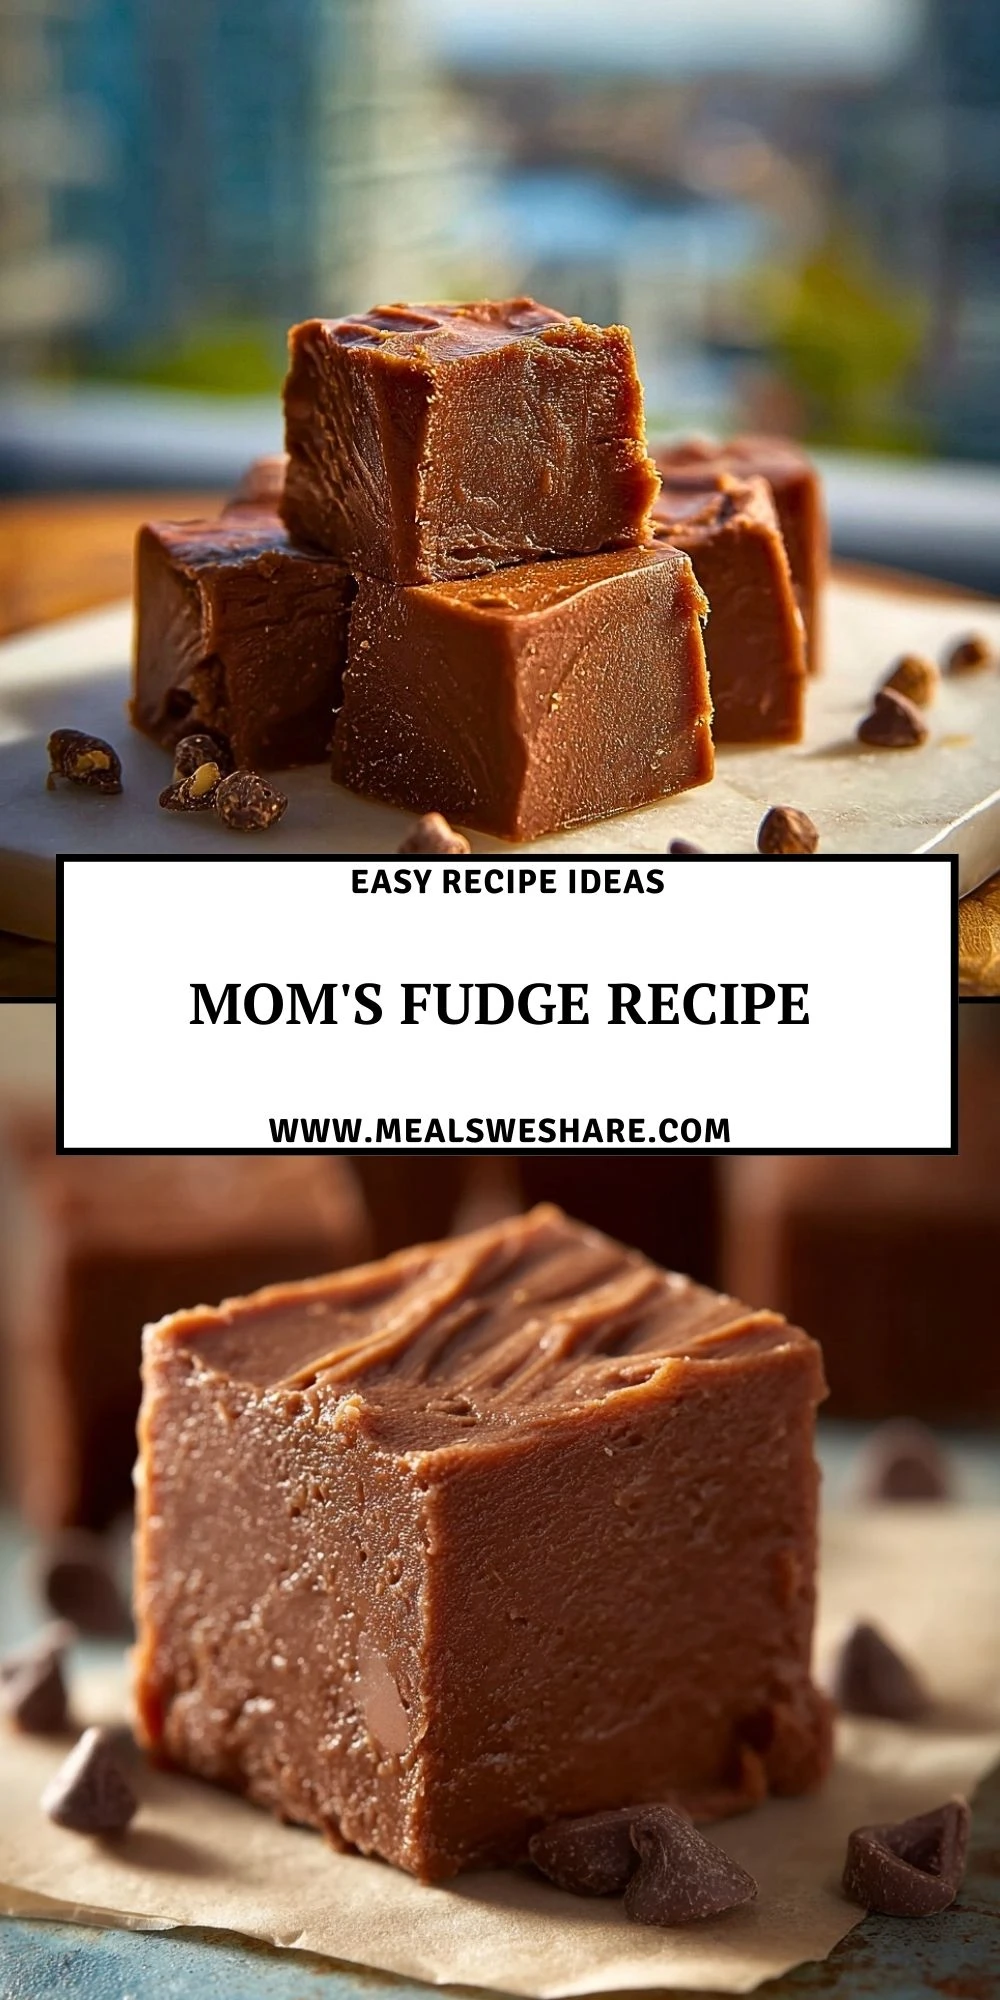
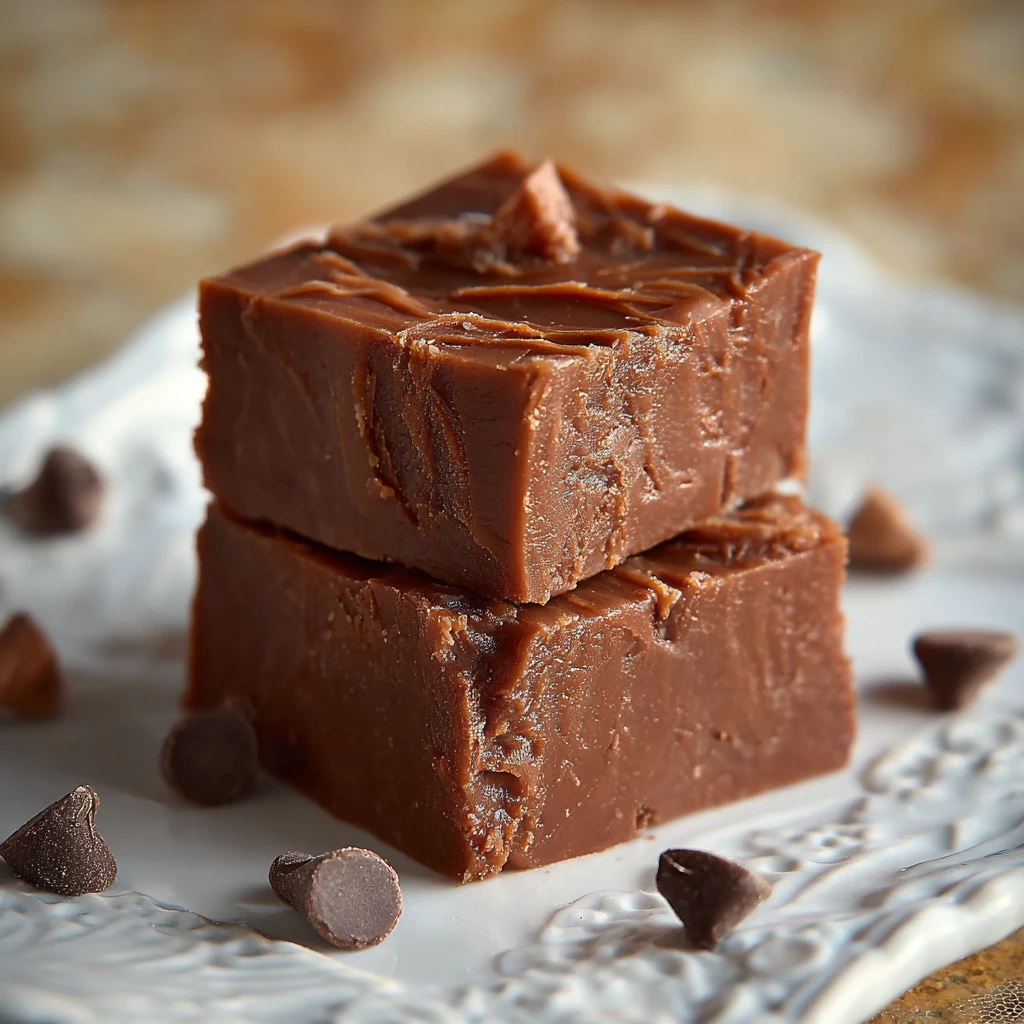
If your childhood tasted like creamy chocolate squares wrapped in wax paper, this Mom’s Fudge Recipe will feel like coming home. Every bite is silky, rich, and melts on your tongue with that unmistakable old-fashioned fudge texture—firm enough to cut cleanly, but soft enough to almost sigh as you take a bite.

This is the kind of recipe that shows up every holiday, family birthday, and bake sale. It uses simple pantry staples, comes together in minutes, and sets into perfect fudge without any fancy equipment. Whether you’re a confident candy maker or it’s your very first batch, you’re about to discover why this is the one fudge recipe everyone asks for.
Why You’ll Love This Mom’s Fudge Recipe
This fudge is wonderfully beginner-friendly. You don’t need a candy thermometer, corn syrup, or special tools—just a saucepan, a spatula, and a pan lined with parchment. The method is straightforward, and the results taste like you spent all afternoon stirring over the stove.
The flavor is deep and chocolatey, the texture is irresistibly smooth, and the recipe is easy to customize with nuts, sea salt, or festive toppings. It keeps beautifully, travels well for parties and cookie trays, and makes a thoughtful homemade gift.
What Makes This Fudge So Foolproof?
Classic old-fashioned fudge can be a little fussy, often relying on precise temperatures and timing. This version uses sweetened condensed milk and chocolate chips to guarantee a creamy set every time. A small pat of butter and a splash of vanilla round out the flavor, while a pinch of salt keeps the sweetness in balance.
Because the chocolate and milk provide the structure, there’s far less guesswork and no worrying about the sugar crystallizing. As long as you melt everything gently and give the fudge time to chill, you’ll slice into picture-perfect squares.
Ingredients for the Mom’s Fudge Recipe
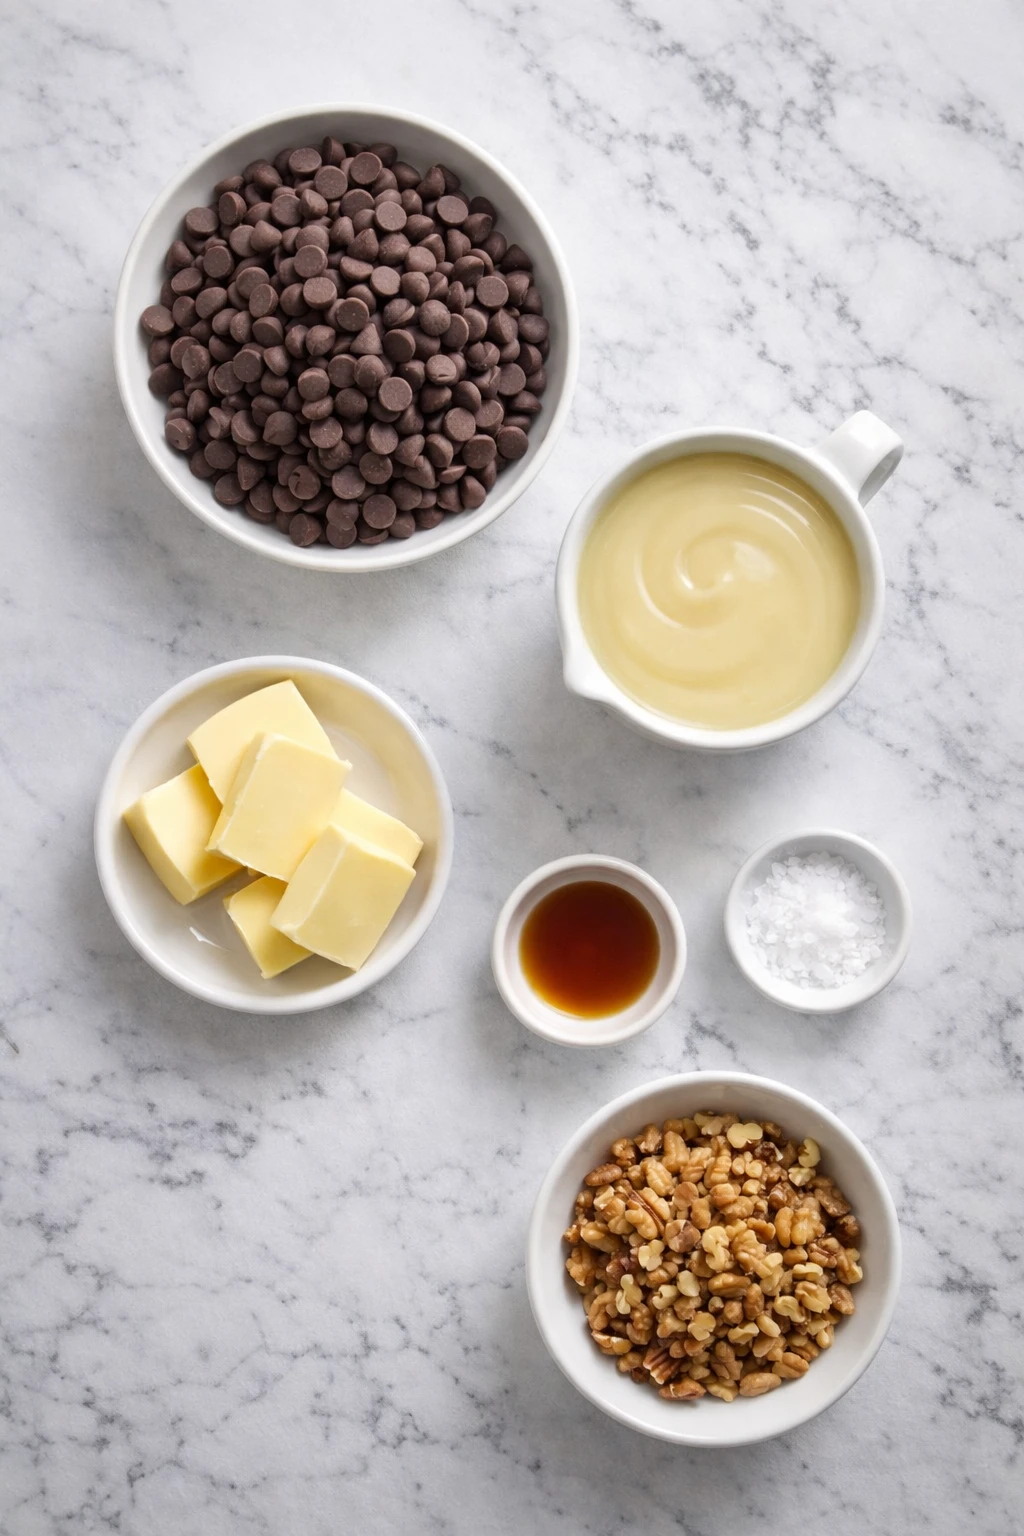
This fudge stays delightfully simple on purpose. Each ingredient has a job, from creating that velvety texture to keeping the sweetness from becoming overwhelming.
Semi-sweet chocolate chips
Chocolate chips are the backbone of the recipe, giving the fudge its rich chocolate flavor and helping it set into firm yet creamy squares. Semi-sweet chocolate keeps things balanced and not overly sugary.
Sweetened condensed milk
Thick, sweet, and luxurious, sweetened condensed milk replaces the traditional sugar-and-cream combo. It creates a smooth, fudge-like texture with far less effort and helps prevent graininess.
Unsalted butter
A small amount of butter adds gloss and richness, making the fudge feel extra indulgent and helping it slice cleanly. Unsalted butter lets you control exactly how much salt goes into the recipe.
Vanilla extract
Vanilla might seem subtle, but it deepens the chocolate flavor and gives the fudge that cozy, homemade taste you just can’t get from store-bought candy.
Fine sea salt
A pinch of salt wakes up all the flavors and keeps the fudge from tasting flat or overly sweet. It’s the quiet ingredient that makes everything else pop.
Chopped nuts (optional)
Toasted walnuts or pecans are a classic add-in for Mom’s fudge, adding crunch and a warm, nutty flavor. You can fold them into the fudge or sprinkle them on top before it sets.
How To Make the Mom’s Fudge Recipe
Once you’ve lined your pan and measured your ingredients, this fudge comes together quickly. Take your time with gentle melting and you’ll be rewarded with perfectly smooth results.
Step 1 – Prep the pan
Line an 8-inch or 9-inch square baking pan with parchment paper or aluminum foil, leaving an overhang on two sides to create “handles.” Lightly grease the parchment so the fudge releases easily once it’s set.
Step 2 – Combine the base ingredients
In a medium heavy-bottomed saucepan, add the semi-sweet chocolate chips, sweetened condensed milk, and butter. Stir them together before turning on the heat so everything begins to melt evenly.
Step 3 – Gently melt until smooth
Set the saucepan over low heat. Stir slowly and constantly as the chocolate and butter melt into the sweetened condensed milk. Keep the heat low to prevent scorching. When the mixture is completely smooth and glossy, remove the pan from the heat.
Step 4 – Add flavorings and mix-ins
Off the heat, stir in the vanilla extract and salt until fully incorporated. If you’re using chopped nuts or other add-ins like mini marshmallows or crushed cookies, gently fold them in now so they’re evenly distributed.
Step 5 – Spread and smooth the fudge
Pour the warm fudge mixture into the prepared pan, scraping every bit from the saucepan with a spatula. Use the spatula to spread it into an even layer, smoothing the top. If you like, sprinkle additional nuts or a light pinch of flaky salt over the surface.
Step 6 – Chill until set
Transfer the pan to the refrigerator and chill for at least 2 hours, or until the fudge is firm all the way through. For neat squares, let the pan sit at room temperature for 5–10 minutes before cutting.
Step 7 – Slice and serve
Lift the fudge out of the pan using the parchment overhang. Place it on a cutting board and use a sharp knife to cut it into small squares or rectangles. Wipe the knife between cuts for the cleanest edges.
Serving and Storing This Fudge
One batch of Mom’s Fudge Recipe typically yields about 36 small squares, depending on how large you cut them. That’s enough to feed 12–18 people if everyone enjoys a couple of pieces, making it perfect for parties, cookie trays, or holiday dessert tables.
Serve the fudge slightly chilled or at cool room temperature so it holds its shape but still feels soft and creamy when you bite into it. It pairs beautifully with coffee, hot cocoa, or a small scoop of vanilla ice cream.
To store, place the fudge in an airtight container with parchment paper between the layers. It will keep at room temperature for 4–5 days in a cool kitchen, or in the refrigerator for up to 2 weeks. For longer storage, freeze the cut squares in a single layer, then transfer them to a freezer-safe bag or container for up to 2 months. Thaw in the refrigerator, then bring to room temperature before serving.
What to Serve With Mom’s Fudge Recipe?
Hot coffee or espresso
The deep bitterness of coffee balances the sweetness of the fudge and makes every bite taste even more chocolatey.
A mug of hot cocoa
For a double-chocolate moment, pair a small square of fudge with a cozy mug of hot cocoa. Top the cocoa with whipped cream or marshmallows for an extra treat.
Vanilla or caramel ice cream
Serve fudge pieces alongside a scoop of ice cream or crumble one square over the top. The contrast of cold ice cream and rich fudge is irresistible.
Fresh berries
Bright, juicy strawberries, raspberries, or blackberries cut through the richness and add a pop of color to your dessert plate.
Salty snacks
Pretzels, salted nuts, or popcorn offer a crunchy, salty contrast that keeps the fudge from feeling too heavy.
Holiday cookie platter
Add the fudge squares to a tray of cookies and other bite-sized sweets for an impressive dessert spread that’s perfect for sharing.
After-dinner dessert board
Arrange fudge pieces with fresh fruit, nuts, and maybe a slice or two of cheese for a simple but elegant dessert grazing board.
Frequently Asked Questions
Can I use different types of chocolate?
Yes. While semi-sweet chocolate chips are classic, you can swap in part milk chocolate for a sweeter fudge or part dark chocolate for a more intense flavor. Just be sure the total amount of chocolate stays the same so the fudge sets properly.
How can I keep my fudge from turning grainy?
This recipe is naturally less prone to graininess thanks to the sweetened condensed milk, but smooth results still depend on gentle heat. Melt the chocolate slowly over low heat and avoid overheating or boiling the mixture. Stir constantly until the mixture is silky before pouring it into the pan.
Can I add other mix-ins besides nuts?
Absolutely. Mini marshmallows, crushed cookies, sprinkles, or even a swirl of peanut butter are all delicious additions. For more dessert inspiration, you might also love the creamy layers in these no-bake mini cheesecakes in jars or the chocolatey bite of chocolate-dipped raspberry brownie bites.
Does this fudge travel well for gifting?
Yes, this fudge is excellent for gifting. Once fully chilled and cut, pack the squares in a tin or box lined with parchment. Separate layers with additional parchment so they don’t stick together. It’s a lovely addition to a homemade candy selection alongside treats like triple chocolate mousse cups or tiramisu cups.
Can I make this fudge ahead of time?
Definitely. Fudge is an ideal make-ahead dessert. Make it up to a week before you need it and store it tightly covered in the refrigerator. You can also freeze it for up to 2 months, which is perfect for busy holiday seasons when you want your desserts ready to go.
Save This Pin For Later
📌 Save this recipe to your Pinterest dessert board so you can come back to it any time.
And let me know in the comments how yours turned out. Did you stir in nuts or keep it smooth and classic? Did you swirl in peanut butter, caramel, or sprinkle flaky sea salt on top?
I love hearing how others make these recipes their own. Questions are welcome too—let’s help each other bake smarter and share sweeter treats.
Conclusion
Mom’s Fudge Recipe is the kind of chocolate treat that brings everyone into the kitchen, waiting for the first slice. With minimal effort and simple pantry ingredients, you get a batch of candy-shop-worthy fudge that feels special enough for holidays but easy enough for any weekend craving.
Whether you’re boxing it up as a gift, adding it to a dessert board, or sneaking a square straight from the fridge, this fudge is sure to become a tradition in your home. For even more dessert ideas and daily inspiration, check out Meals We Share on Pinterest.
Mom’s Fudge Recipe
- Total Time: 140
- Yield: 36 pieces
Description
Rich, creamy, and perfectly chocolatey, this Mom’s Fudge Recipe is the ultimate easy recipe when you need a quick dessert that tastes like it came from a candy shop. With just a handful of ingredients and a simple stovetop method, you can whip up a big batch of smooth fudge squares that are perfect for quick breakfast treats with coffee, easy dessert ideas after dinner, or a fun sweet snack to share. This fuss-free chocolate fudge fits into busy weeknight dinner ideas, holiday food ideas, and party platters, giving you a reliable, crowd-pleasing classic whenever you need something special fast.
Ingredients
3 cups semi-sweet chocolate chips
1 can (14 ounces) sweetened condensed milk
4 tablespoons unsalted butter, cut into pieces
2 teaspoons vanilla extract
1/4 teaspoon fine sea salt
1 cup chopped walnuts or pecans, toasted (optional)
Instructions
1. Line an 8-inch or 9-inch square baking pan with parchment paper or aluminum foil, leaving an overhang on two opposite sides to form handles. Lightly grease the parchment to help the fudge release easily.
2. In a medium heavy-bottomed saucepan, combine the semi-sweet chocolate chips, sweetened condensed milk, and butter. Stir the mixture together before turning on the heat so everything starts to melt evenly.
3. Place the saucepan over low heat. Cook, stirring constantly, until the chocolate and butter are completely melted and the mixture is smooth and glossy. Do not let it boil or scorch.
4. Remove the saucepan from the heat. Stir in the vanilla extract and fine sea salt until fully incorporated. If using chopped nuts or other mix-ins, gently fold them into the warm fudge mixture.
5. Pour the fudge into the prepared pan, scraping the saucepan with a spatula to get every bit. Spread the mixture into an even layer and smooth the top. If desired, sprinkle extra nuts or a pinch of flaky salt over the surface.
6. Refrigerate the pan for at least 2 hours, or until the fudge is firm all the way through. For the cleanest cuts, let the fudge sit at room temperature for 5–10 minutes before slicing.
7. Lift the fudge from the pan using the parchment overhang and place it on a cutting board. Use a sharp knife to cut it into about 36 small squares or rectangles, wiping the knife between cuts.
8. Serve immediately, or store the fudge in an airtight container with parchment between layers at room temperature for up to 5 days, in the refrigerator for up to 2 weeks, or in the freezer for up to 2 months.
Notes
For the smoothest texture, keep the heat low and stir constantly while melting the chocolate so it doesn’t scorch or seize.
To get neat, bakery-style squares, warm a sharp knife under hot water, dry it, and wipe the blade clean between each cut.
Customize the fudge by stirring in toasted nuts, mini marshmallows, crushed cookies, or topping with flaky sea salt, festive sprinkles, or a drizzle of melted white chocolate.
- Prep Time: 10
- Cook Time: 10
- Category: Dessert
- Method: Stovetop
- Cuisine: American
Nutrition
- Serving Size: 1 piece
- Calories: 180
- Sugar: 20
- Sodium: 45
- Fat: 9
- Saturated Fat: 5
- Unsaturated Fat: 3
- Trans Fat: 0
- Carbohydrates: 24
- Fiber: 1
- Protein: 3
- Cholesterol: 15
Keywords: mom’s fudge recipe, easy fudge, chocolate fudge, quick dessert, holiday candy, christmas fudge, easy recipe, dessert ideas