
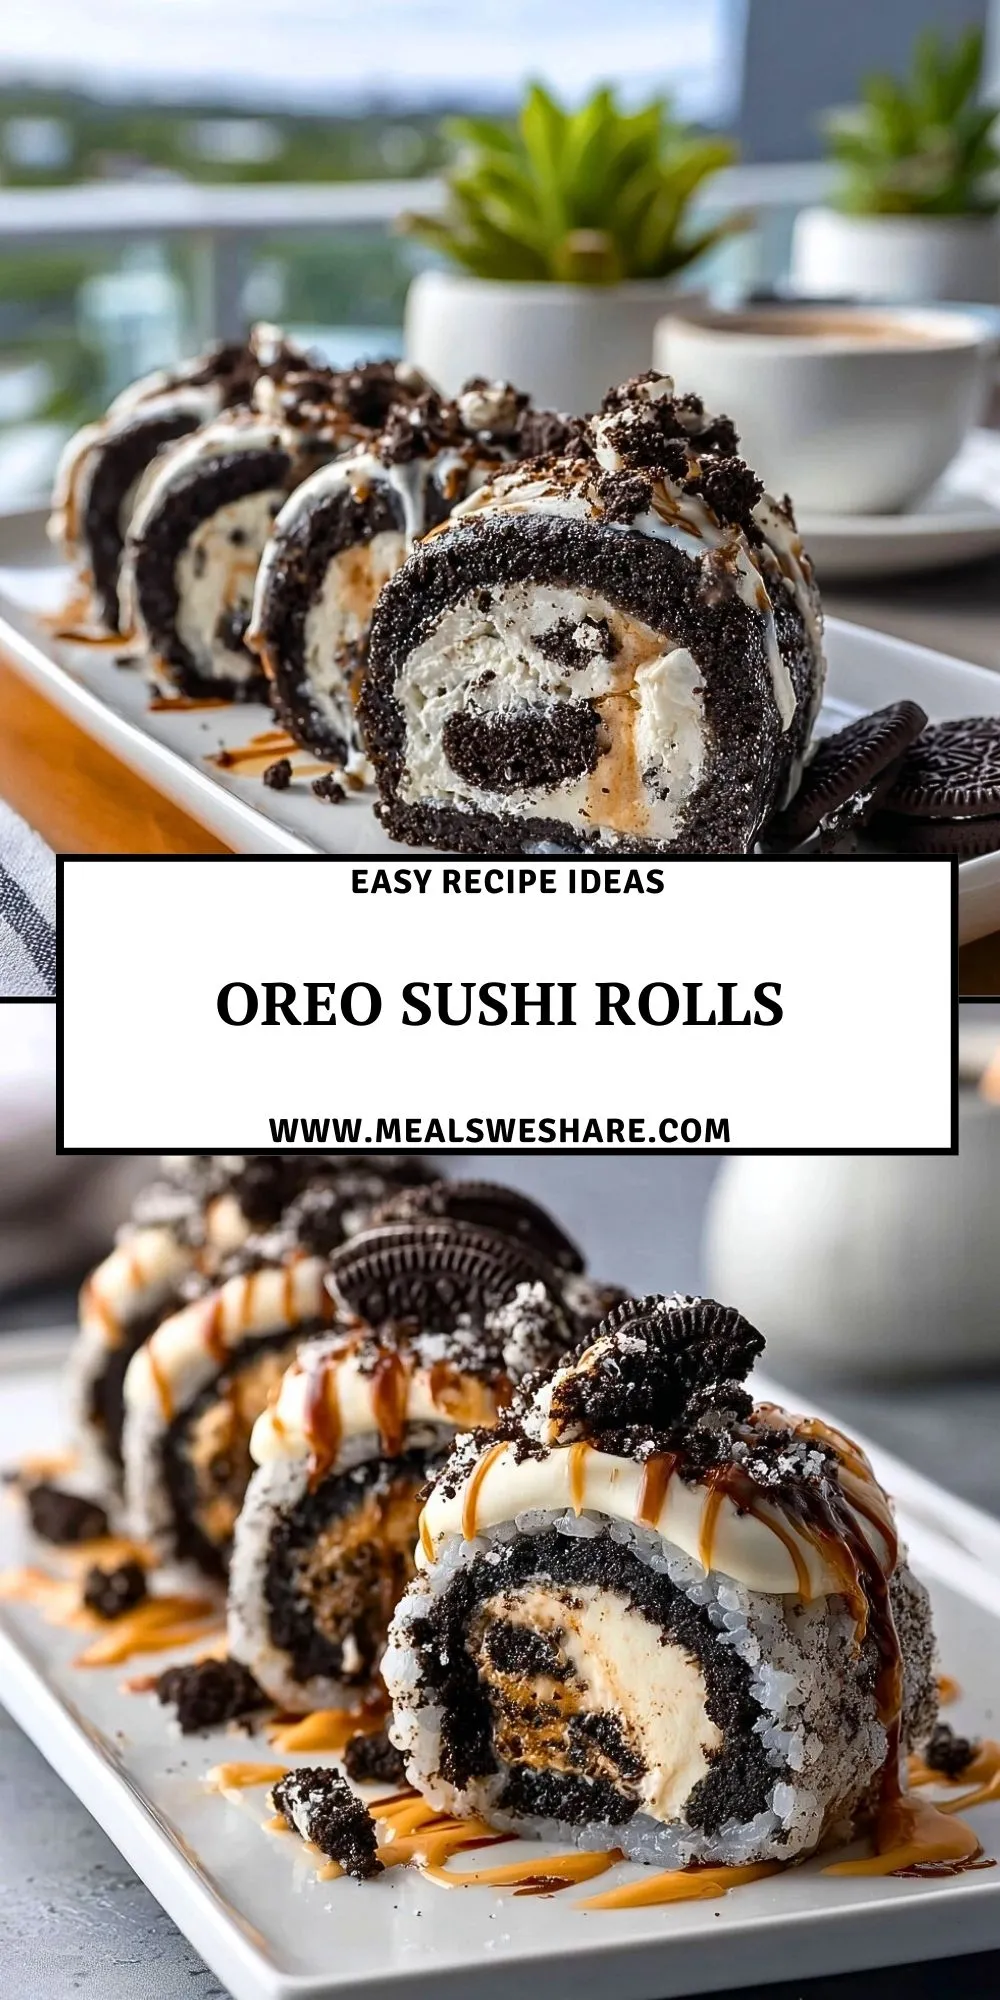
Move over, traditional desserts—there’s a new no-bake treat that’s about to steal the show. Oreo Sushi Rolls are a fun, playful spin on the classic cookie, transformed into bite-sized rolls filled with creamy goodness and a surprise caramel center. They’re as delicious as they are eye-catching, making them perfect for parties, kid-friendly dessert tables, or even a cozy movie night indulgence.
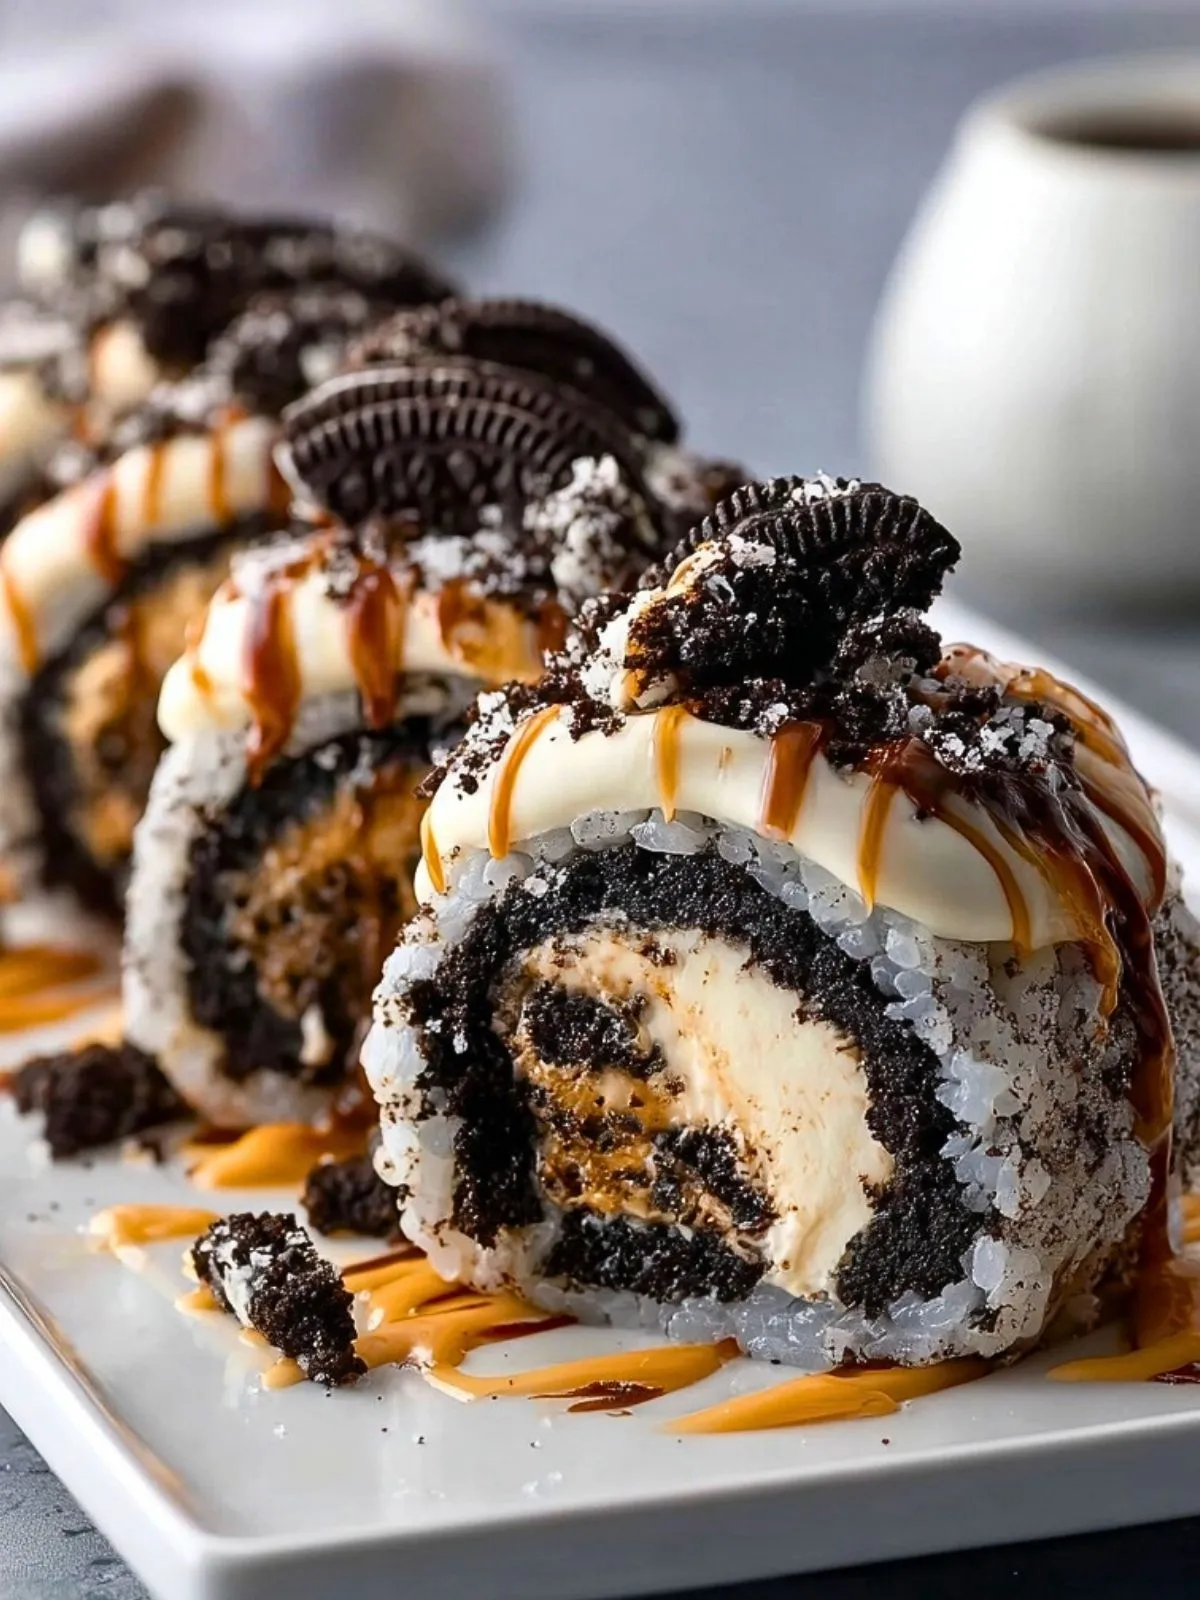
Imagine your favorite cookies and cream flavor reimagined into a silky, sliceable roll, coated in Oreo crumbs and topped with whipped cream and more cookies. The creamy filling contrasts beautifully with the chocolatey outer layer, and the hidden caramel adds a gooey surprise. These Oreo Sushi Rolls not only satisfy your sweet tooth but also bring smiles with every bite.
Why You’ll Love This Oreo Sushi Rolls Recipe
These Oreo Sushi Rolls are a no-bake dream come true. They require just a few ingredients, come together quickly, and don’t need any special baking skills. They’re an ideal last-minute treat that looks impressive but is delightfully simple to make.
Perfect for entertaining, gifting, or treating yourself, the combination of textures and flavors—crunchy, creamy, chocolatey, and gooey—makes every bite irresistible. Plus, they’re super customizable with different fillings or toppings.
What Kind of Oreos Should I Use?
Classic Oreos are perfect for this recipe, offering the best texture and flavor balance. However, you can get creative with flavors like Golden Oreos, Mint, or even Peanut Butter for a unique twist. Just make sure to use standard Oreos, not the double-stuffed ones, as the extra filling can alter the texture when forming the roll.
Ingredients for the Oreo Sushi Rolls
You only need a handful of simple ingredients to bring these playful Oreo Sushi Rolls to life, each one adding a crucial touch to taste and texture.
- Oreos – The base of the roll. Crushed finely, they form a dough-like consistency when mixed with a small amount of liquid.
- Cream cheese or whipped cream – Provides the creamy filling, giving a rich and smooth contrast to the chocolatey outer layer.
- Powdered sugar – Sweetens the filling just enough without overpowering the Oreo flavor.
- Caramel sauce – The surprise center that adds a delightful gooeyness and enhances the flavor.
- Extra Oreos or crushed cookie crumbs – For garnish and extra crunch.
- Whipped cream (optional) – A final decorative topping that adds lightness and visual appeal.

How To Make the Oreo Sushi Rolls
Step 1: Crush the Oreos
Place the Oreos in a food processor and pulse until they turn into fine crumbs. Set aside about 2 tablespoons for garnish.
Step 2: Form the Oreo Dough
Add a small amount of milk or water (about 1-2 tablespoons) to the remaining crushed Oreos and mix until a pliable dough forms. Roll the dough between two sheets of parchment paper into a thin rectangle.
Step 3: Make the Filling
In a bowl, combine softened cream cheese or whipped cream with powdered sugar. Mix until smooth and fluffy.
Step 4: Assemble the Roll
Spread the filling evenly over the Oreo layer, leaving a small border around the edges. Drizzle a thin line of caramel sauce along one edge for the center.
Step 5: Roll and Chill
Carefully roll the rectangle into a tight log, starting from the caramel-filled side. Wrap in plastic wrap and refrigerate for at least 1 hour to firm up.
Step 6: Slice and Garnish
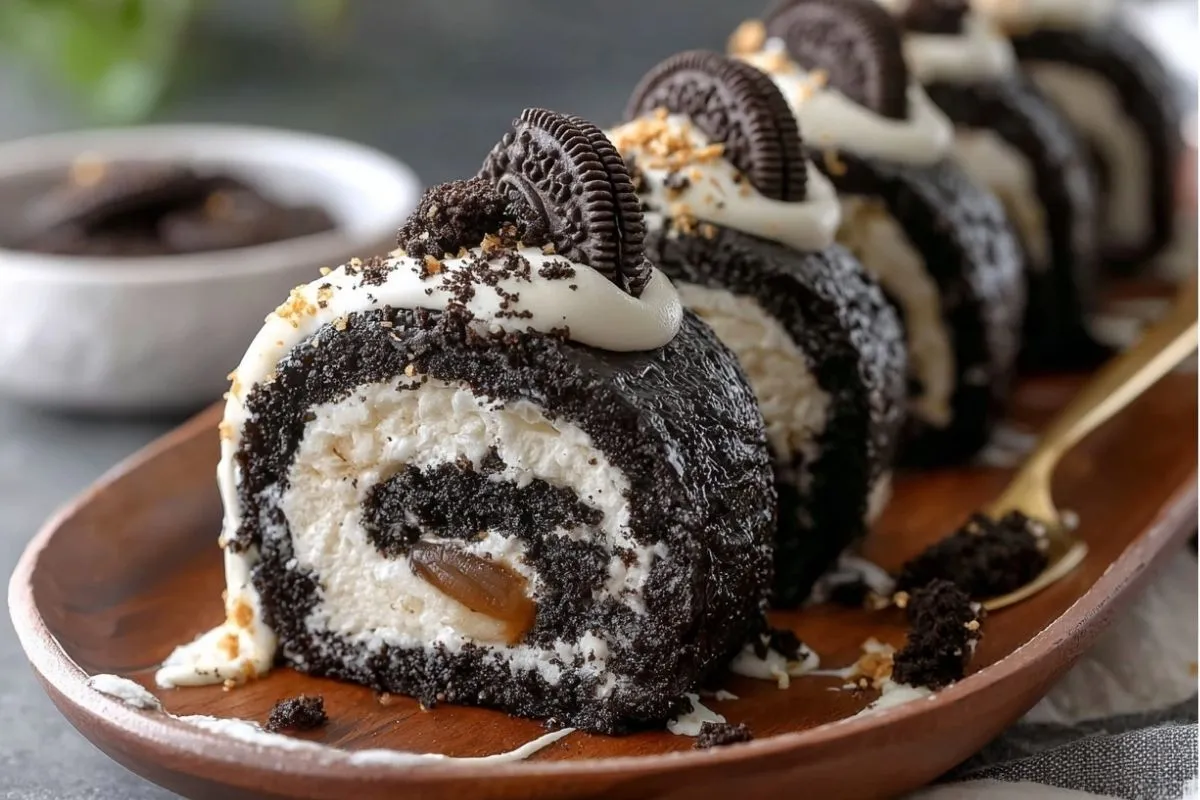
Once chilled, slice into 1-inch pieces. Top each roll with a dollop of whipped cream, a mini Oreo, and a sprinkle of crushed crumbs. Serve chilled and enjoy!
How to Serve and Store Oreo Sushi Rolls
These Oreo Sushi Rolls are best served chilled, straight from the fridge. Their neat, sliceable form makes them perfect for serving on a dessert platter or individually plated with a drizzle of extra caramel or chocolate sauce. Each batch makes about 10 to 12 pieces, depending on the thickness of your slices, and can easily feed 4 to 6 people.
To store, place the rolls in an airtight container and refrigerate for up to 4 days. If you plan to garnish with whipped cream, do so right before serving to maintain the best texture.
What to Serve With Oreo Sushi Rolls?
Fresh Berries
Strawberries, raspberries, or blueberries add a refreshing tart contrast to the sweetness of the rolls.
Ice Cream
Vanilla, cookies and cream, or caramel swirl ice cream pairs beautifully with these rich bites.
Espresso or Coffee
The bitterness of coffee cuts through the sweetness and enhances the chocolatey Oreo flavor.
Milkshakes
A vanilla or chocolate milkshake turns this dessert into a full-on treat experience.
Whipped Cream with Cocoa Powder
A simple side of lightly sweetened whipped cream dusted with cocoa makes for a classic pairing.
Chocolate-Dipped Fruit
Sliced bananas or strawberries dipped in dark chocolate are both elegant and flavorful companions.
Dessert Charcuterie Board
Add Oreo Sushi Rolls to a board with chocolate truffles, marshmallows, and fresh fruit for a fun dessert spread.
Frequently Asked Questions
Can I make Oreo Sushi Rolls ahead of time?
Yes! You can prepare them a day in advance. Just keep them wrapped and refrigerated until ready to slice and serve. Add any toppings just before serving to keep them fresh.
What can I use instead of caramel in the center?
Feel free to swap the caramel with peanut butter, Nutella, fruit jam, or even a layer of chocolate ganache. Each adds a unique twist!
Do I need a food processor to crush the Oreos?
While a food processor is the easiest method, you can also place the cookies in a zip-top bag and crush them with a rolling pin until finely ground.
Can I make this dairy-free?
Yes, use dairy-free alternatives for cream cheese or whipped topping, and ensure your caramel or filling is also dairy-free. Many plant-based options work beautifully.
Save This Pin For Later
Save this recipe to your Pinterest dessert board so you can come back to it any time.
And let me know in the comments how yours turned out. Did you add liqueur or leave it out? Did you try chocolate on top?
I love hearing how others make these recipes their own. Questions are welcome too, let’s help each other bake smarter.
For more fun no-bake desserts and creative food ideas, check out my Pinterest:
👉 Meals We Share By Sally on Pinterest
Conclusion
Oreo Sushi Rolls are the perfect fusion of playful design and decadent flavor. With no oven required and just a few ingredients, they’re ideal for both beginner bakers and seasoned sweet-tooth enthusiasts. Whether you’re prepping them for a party, a treat-yourself weekend, or just for fun, these delightful rolls are guaranteed to impress and satisfy.
Oreo Sushi Rolls
- Total Time: 1 hour 15 minutes
- Yield: 10–12 pieces
- Diet: Vegetarian
Description
Looking for a fun, no-bake dessert that’s easy to make and impossible to resist? These Oreo Sushi Rolls are a playful twist on the classic cookie, rolled up with a creamy filling and a gooey caramel surprise. Whether you’re hunting for quick breakfast treats, easy recipe ideas, or fun food ideas for dessert, these little rolls deliver. Perfect for party trays, kids’ snacks, or a casual weekend indulgence. They’re fast to make, eye-catching, and oh-so delicious—your new go-to sweet bite!
Ingredients
24 Oreos
3 tablespoons milk or water
4 ounces cream cheese or 1 cup whipped cream
2 tablespoons powdered sugar
2 tablespoons caramel sauce
4 Oreos, crushed (for garnish)
1 cup whipped cream (optional topping)
Instructions
1. Place Oreos in a food processor and pulse until they become fine crumbs. Reserve 2 tablespoons for garnish.
2. Add milk or water to the remaining crumbs and mix until a pliable dough forms.
3. Roll dough between parchment paper into a thin rectangle.
4. Mix cream cheese or whipped cream with powdered sugar until smooth.
5. Spread filling over Oreo layer, leaving a border. Add a thin caramel line on one side.
6. Roll tightly from the caramel side into a log. Wrap and refrigerate for 1 hour.
7. Slice into 1-inch rolls. Top with whipped cream, crushed Oreos, and serve chilled.
Notes
Be sure to chill the roll before slicing for clean cuts.
Use different Oreo flavors for a twist—Mint, Golden, or Peanut Butter.
Swap caramel with Nutella or jam for a flavor change.
- Prep Time: 15 minutes
- Cook Time: 0 minutes
- Category: Dessert
- Method: No-Bake
- Cuisine: American
Nutrition
- Serving Size: 1 piece
- Calories: 145
- Sugar: 11g
- Sodium: 95mg
- Fat: 8g
- Saturated Fat: 3.5g
- Unsaturated Fat: 3g
- Trans Fat: 0g
- Carbohydrates: 18g
- Fiber: 1g
- Protein: 2g
- Cholesterol: 8mg
Keywords: oreo dessert, no-bake treat, quick dessert, easy recipe, fun food idea