Description
Vintage Cherries In the Snow is an easy no bake dessert with a buttery graham cracker crust, fluffy cream cheese “snow” layer, and a glossy cherry pie filling on top—perfect for quick breakfast or brunch treats, make-ahead dessert, or simple sweet food ideas when you need an easy recipe that feeds a crowd. This light yet decadent layered dessert is ideal for easy dinner party dessert, holiday gatherings, or everyday breakfast ideas when you want something creamy, fruity, and delightfully nostalgic.
Ingredients
2 cups graham cracker crumbs
1/4 cup granulated sugar
1/2 cup unsalted butter melted
16 ounces cream cheese softened
1 cup powdered sugar
2 teaspoons vanilla extract
1 1/2 cups heavy whipping cream cold
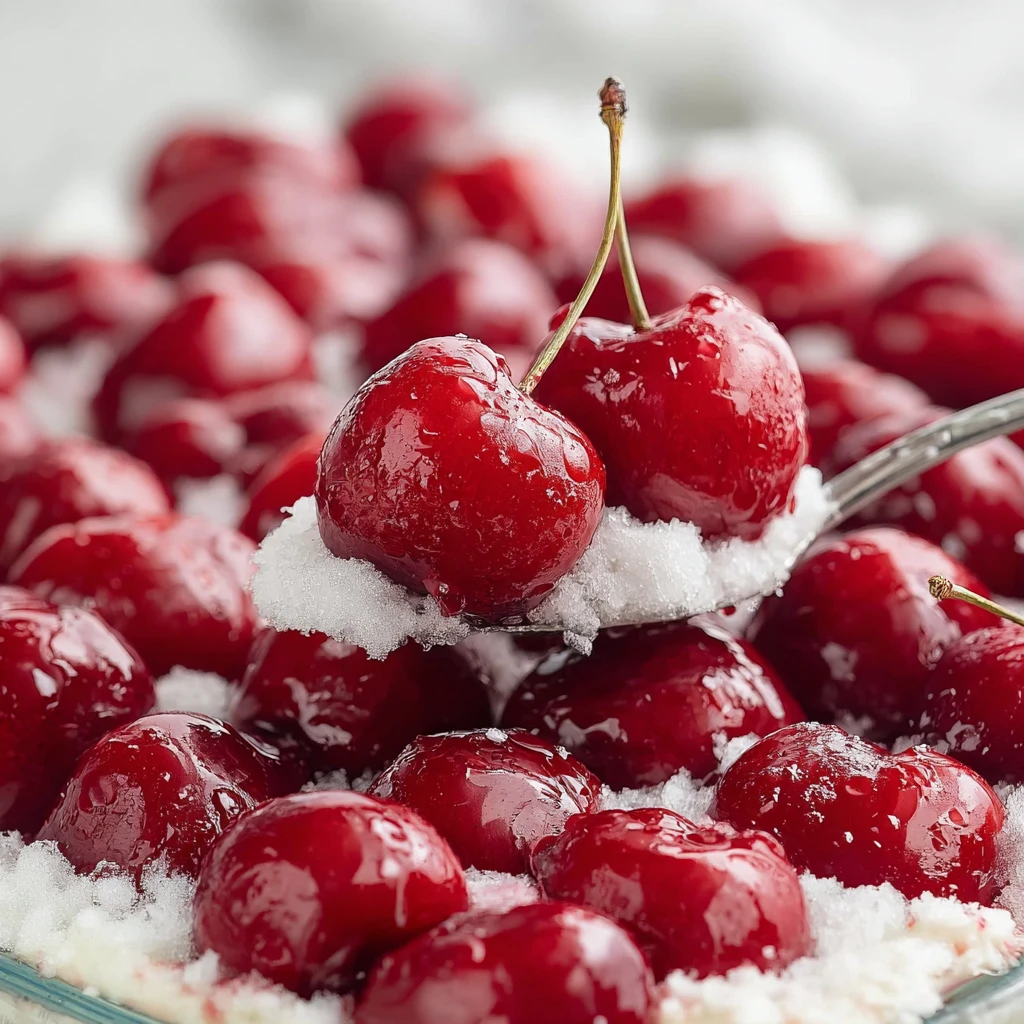
2 cans cherry pie filling 21 ounces each
1/4 cup toasted coconut or sliced almonds optional garnish
Instructions
1. Lightly grease a 9×13 inch baking dish or line the bottom with parchment paper, leaving some overhang for easy lifting later.
2. In a medium bowl, combine graham cracker crumbs, granulated sugar, and melted butter until the mixture resembles damp sand and holds together when pressed.
3. Press the crumb mixture firmly and evenly into the bottom of the prepared pan using the bottom of a measuring cup or glass. Chill while you prepare the filling, or bake at 350°F (175°C) for 8–10 minutes for a firmer crust, then cool completely.
4. In a large mixing bowl, beat softened cream cheese with powdered sugar and vanilla extract until completely smooth and creamy, scraping down the sides as needed.
5. In a separate bowl, whip the cold heavy cream to stiff peaks using a hand mixer or stand mixer.
6. Gently fold the whipped cream into the cream cheese mixture in two or three additions until light and fluffy, taking care not to deflate the cream.
7. Spread the cream cheese mixture evenly over the cooled or well-chilled crust, smoothing the top all the way to the edges.
8. Stir the cherry pie filling to loosen it, then spoon it carefully over the cream layer, spreading gently so you don’t disturb the layer underneath.
9. If using toasted coconut or sliced almonds, sprinkle them evenly over the cherry layer for added crunch and flavor.
10. Cover the pan tightly and refrigerate for at least 4 hours, or overnight, until fully chilled and set.
11. When ready to serve, slice into squares and lift out with a spatula, making sure to scoop up all three layers in each piece.
Notes
For the cleanest slices, chill the dessert overnight so the creamy layer has plenty of time to firm up before cutting.
To lighten the dessert further, you can substitute whipped topping for the whipped cream; just fold it in gently so the filling stays airy.
Swap the cherry pie filling for blueberry, strawberry, or mixed berry pie filling to create your own favorite flavor variation while keeping the same easy base recipe.
- Prep Time: 20
- Category: Dessert
- Method: No Bake
- Cuisine: American
Nutrition
- Serving Size: 1 square
- Calories: 320
- Sugar: 28
- Sodium: 220
- Fat: 18
- Saturated Fat: 11
- Unsaturated Fat: 6
- Trans Fat: 0
- Carbohydrates: 37
- Fiber: 1
- Protein: 4
- Cholesterol: 55
Keywords: vintage dessert, cherries in the snow, no bake cherry dessert, layered dessert, holiday dessert, easy recipe